Here you will learn to create and manage sites in Radio Mobile online.
Introduction
|
In Radio Mobile online a site is a geographical location where a transmitter or receiver and related antennas is located.
The parameters that are registered to the site are:
- a Unique name
- Coordinates of the site in latitude longitude
- Ground height at the coordinates of the site
- a short description
- The name of the groep to which the site belongs.
 Ground height can be automatically retrieved from DEM in Radio Mobile Online. Ground height can be automatically retrieved from DEM in Radio Mobile Online.
|
 |
Creating a new site.
|
To create a new site click on the "New Site" button in the main menu of Radio Mobile Online. You will go to the input screen to enter all relevant information for the new site.
Radio Mobile online will present a default name and the coordinates of the home location and a related zoom level.
|
 |
Step 1: Site Positioning
The first step in the process of creating a new site is to locate it.
Site positioning in Radio Mobile Online is done using the Google Maps Interface. This brings a easy user interface that has familiar look and feel as most people have been using Google Maps before.
After clicking "Locate" you will be transferred to a 3rd window that will present a map centered at the "Home location". From here we can move the pin to the location of the new site.
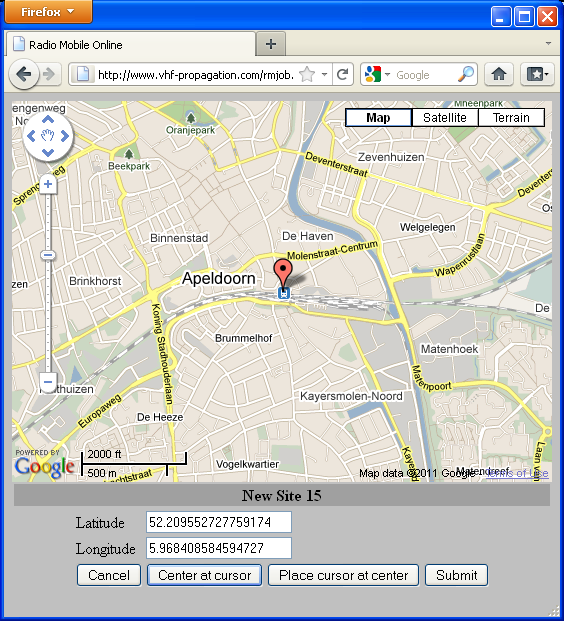
On the map the red cursor is at the location at which the site will be positioned. The coordinates of the cursor are displayed in the "Latitude" and "Longitude" box below the map and change while moving the cursor over the map.
Moving and placing the the cursor at the desired location is a simple "drag and rop" action using the mouse. Left-click on the cursor and hold it on your mouse while moving the cursor to the new location.
While navigating over the map the map itself can be moved with the same operation. Drag the map using the mouse. Left-click on the map and hold it on your mouse while moving the map to the new view. To zoom in and out use the scroll-wheel of your mouse. The map can be oriented using the navigation buttons [+], [-], [<], [^], [>], [.], or the slide bar at the left side of map window.
3 different map-types can be used for orientation:
- Road map
- Satellite image
- Terrain height
These various maps can be selected on-the-fly and are of great help in positioning the new site exactly.
 Roads
Roads
 Satellite image
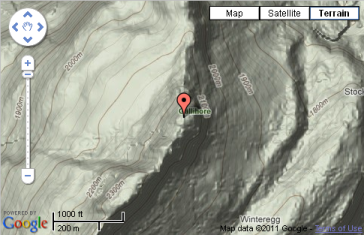 Terrain height
While positioning the new site it is possible to lose the the cursor and do not know where it is. To simpy recover the cursor either move the cursor to the center of the current map view or change the center of the map view to the location of the cursor. This is done using the "Center at cursor" and "Place cursor at center" buttons.
When the cursor is correctly positioned and representing the location of the new site the "Submit" button is applied.
Step 2: Verification of information and add information.
After submission the coordinates of the cursor and the local ground height (elevation) in meters are copied to the New Site form.
Now we can finalize the new Site process by adding a site name, Description and a group.
Step 3:Finalizing.
The creation of the site is finalized by adding the site to your list of sites.